Photos
You’ve found my photos page! Here are a few photos I’ve taken lately that I’m pretty proud of.
My usual setup comprises:
- Canon EOS Rebel T6 DSLR
- One of these lenses:
- Canon EF-S f/3.5-5.6 18-55mm IS II
- Canon EF f/1.8 50mm STM
- Manfrotto Element MII tripod
I edit in Lightroom on my MacBook Pro.
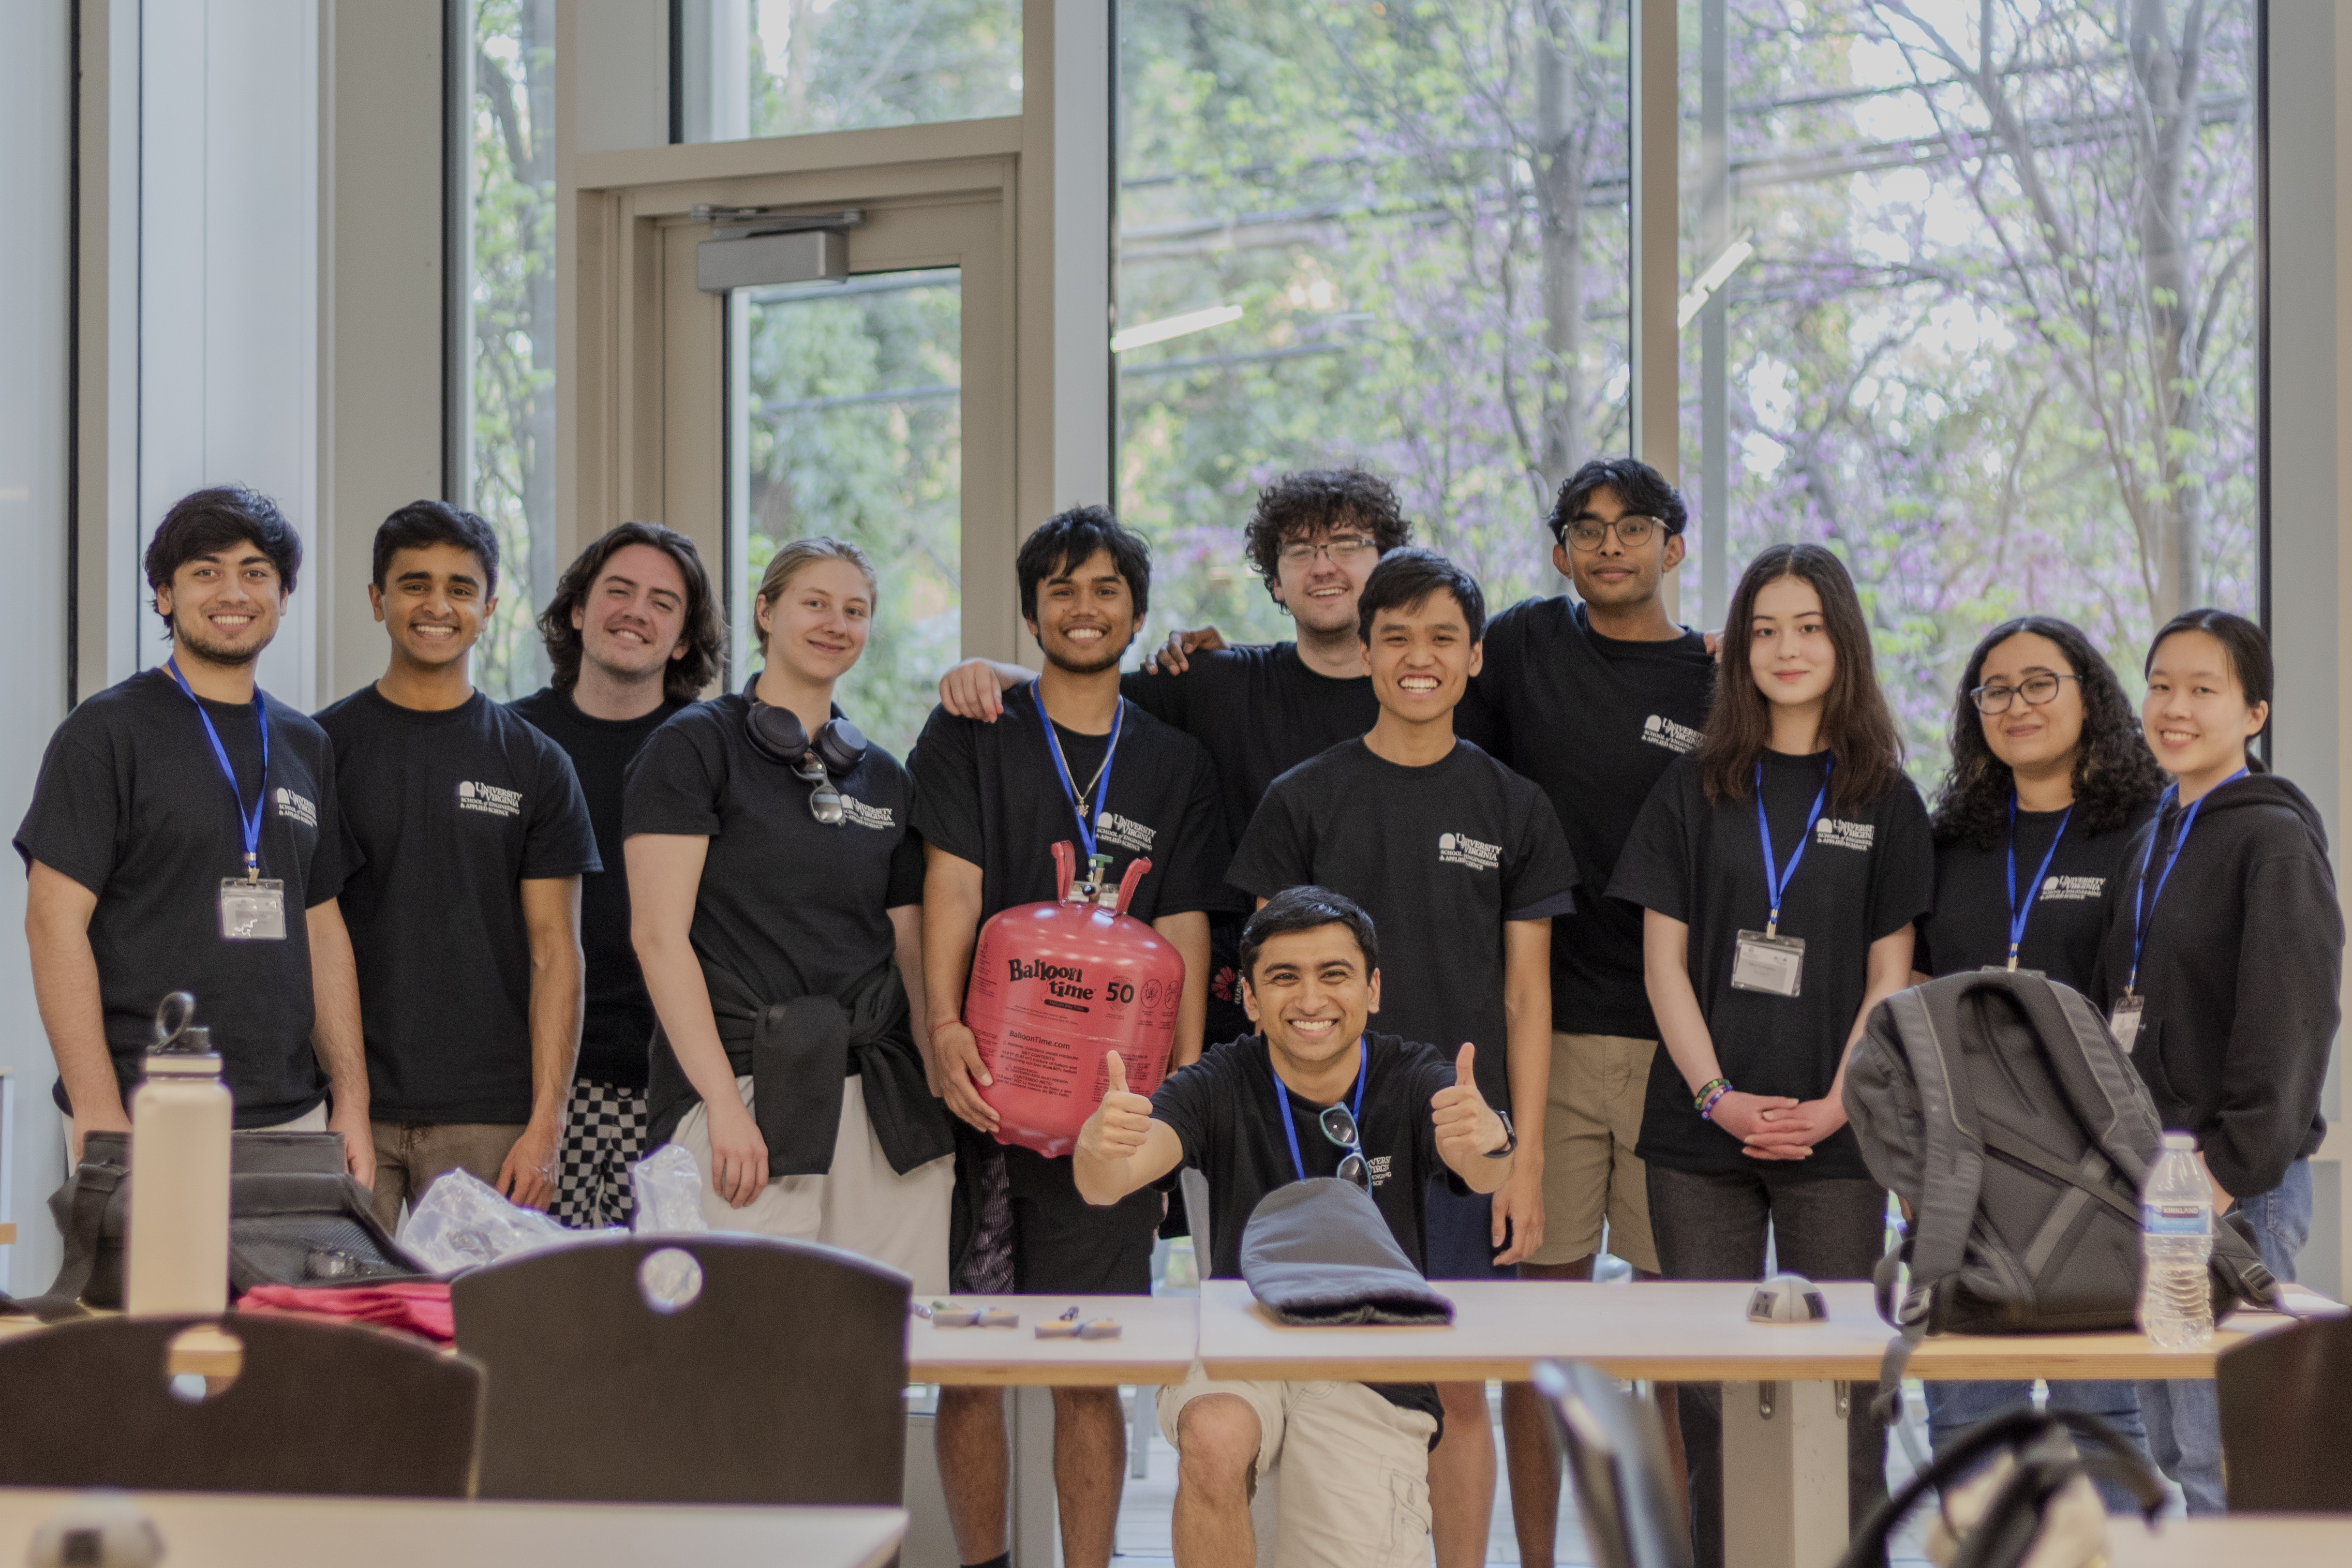
HSPC 2025 Volunteers

Date taken: April 5, 2025
Equipment used: Canon EOS Rebel T6; Canon EF f/1.8 50mm STM; Manfrotto Element MII
Notes: This photoshoot after HSPC was the first time using the new lens and tripod out and about, so I wasn’t sure if it would turn out well. The equipment took quite a while to set up, but luckily this image came out fine. I was able to turn down the highlights (or was it the whites?) enough in Lightroom that the trees behind Rice are visible in the background. I don’t love the glare on the windows – if I could do this one over, maybe I’d experiment with a CPL filter to block that out. Also, f/2.0 was a little too open for this group, so the people in the background are a hair out of focus – compare Niveen (second from right) with Miya (third from right) as an example. Also, what’s with the weird effects on the water bottles in the foreground? Overall, though, I think this was a good shot, especially since I had just gotten back into photography.
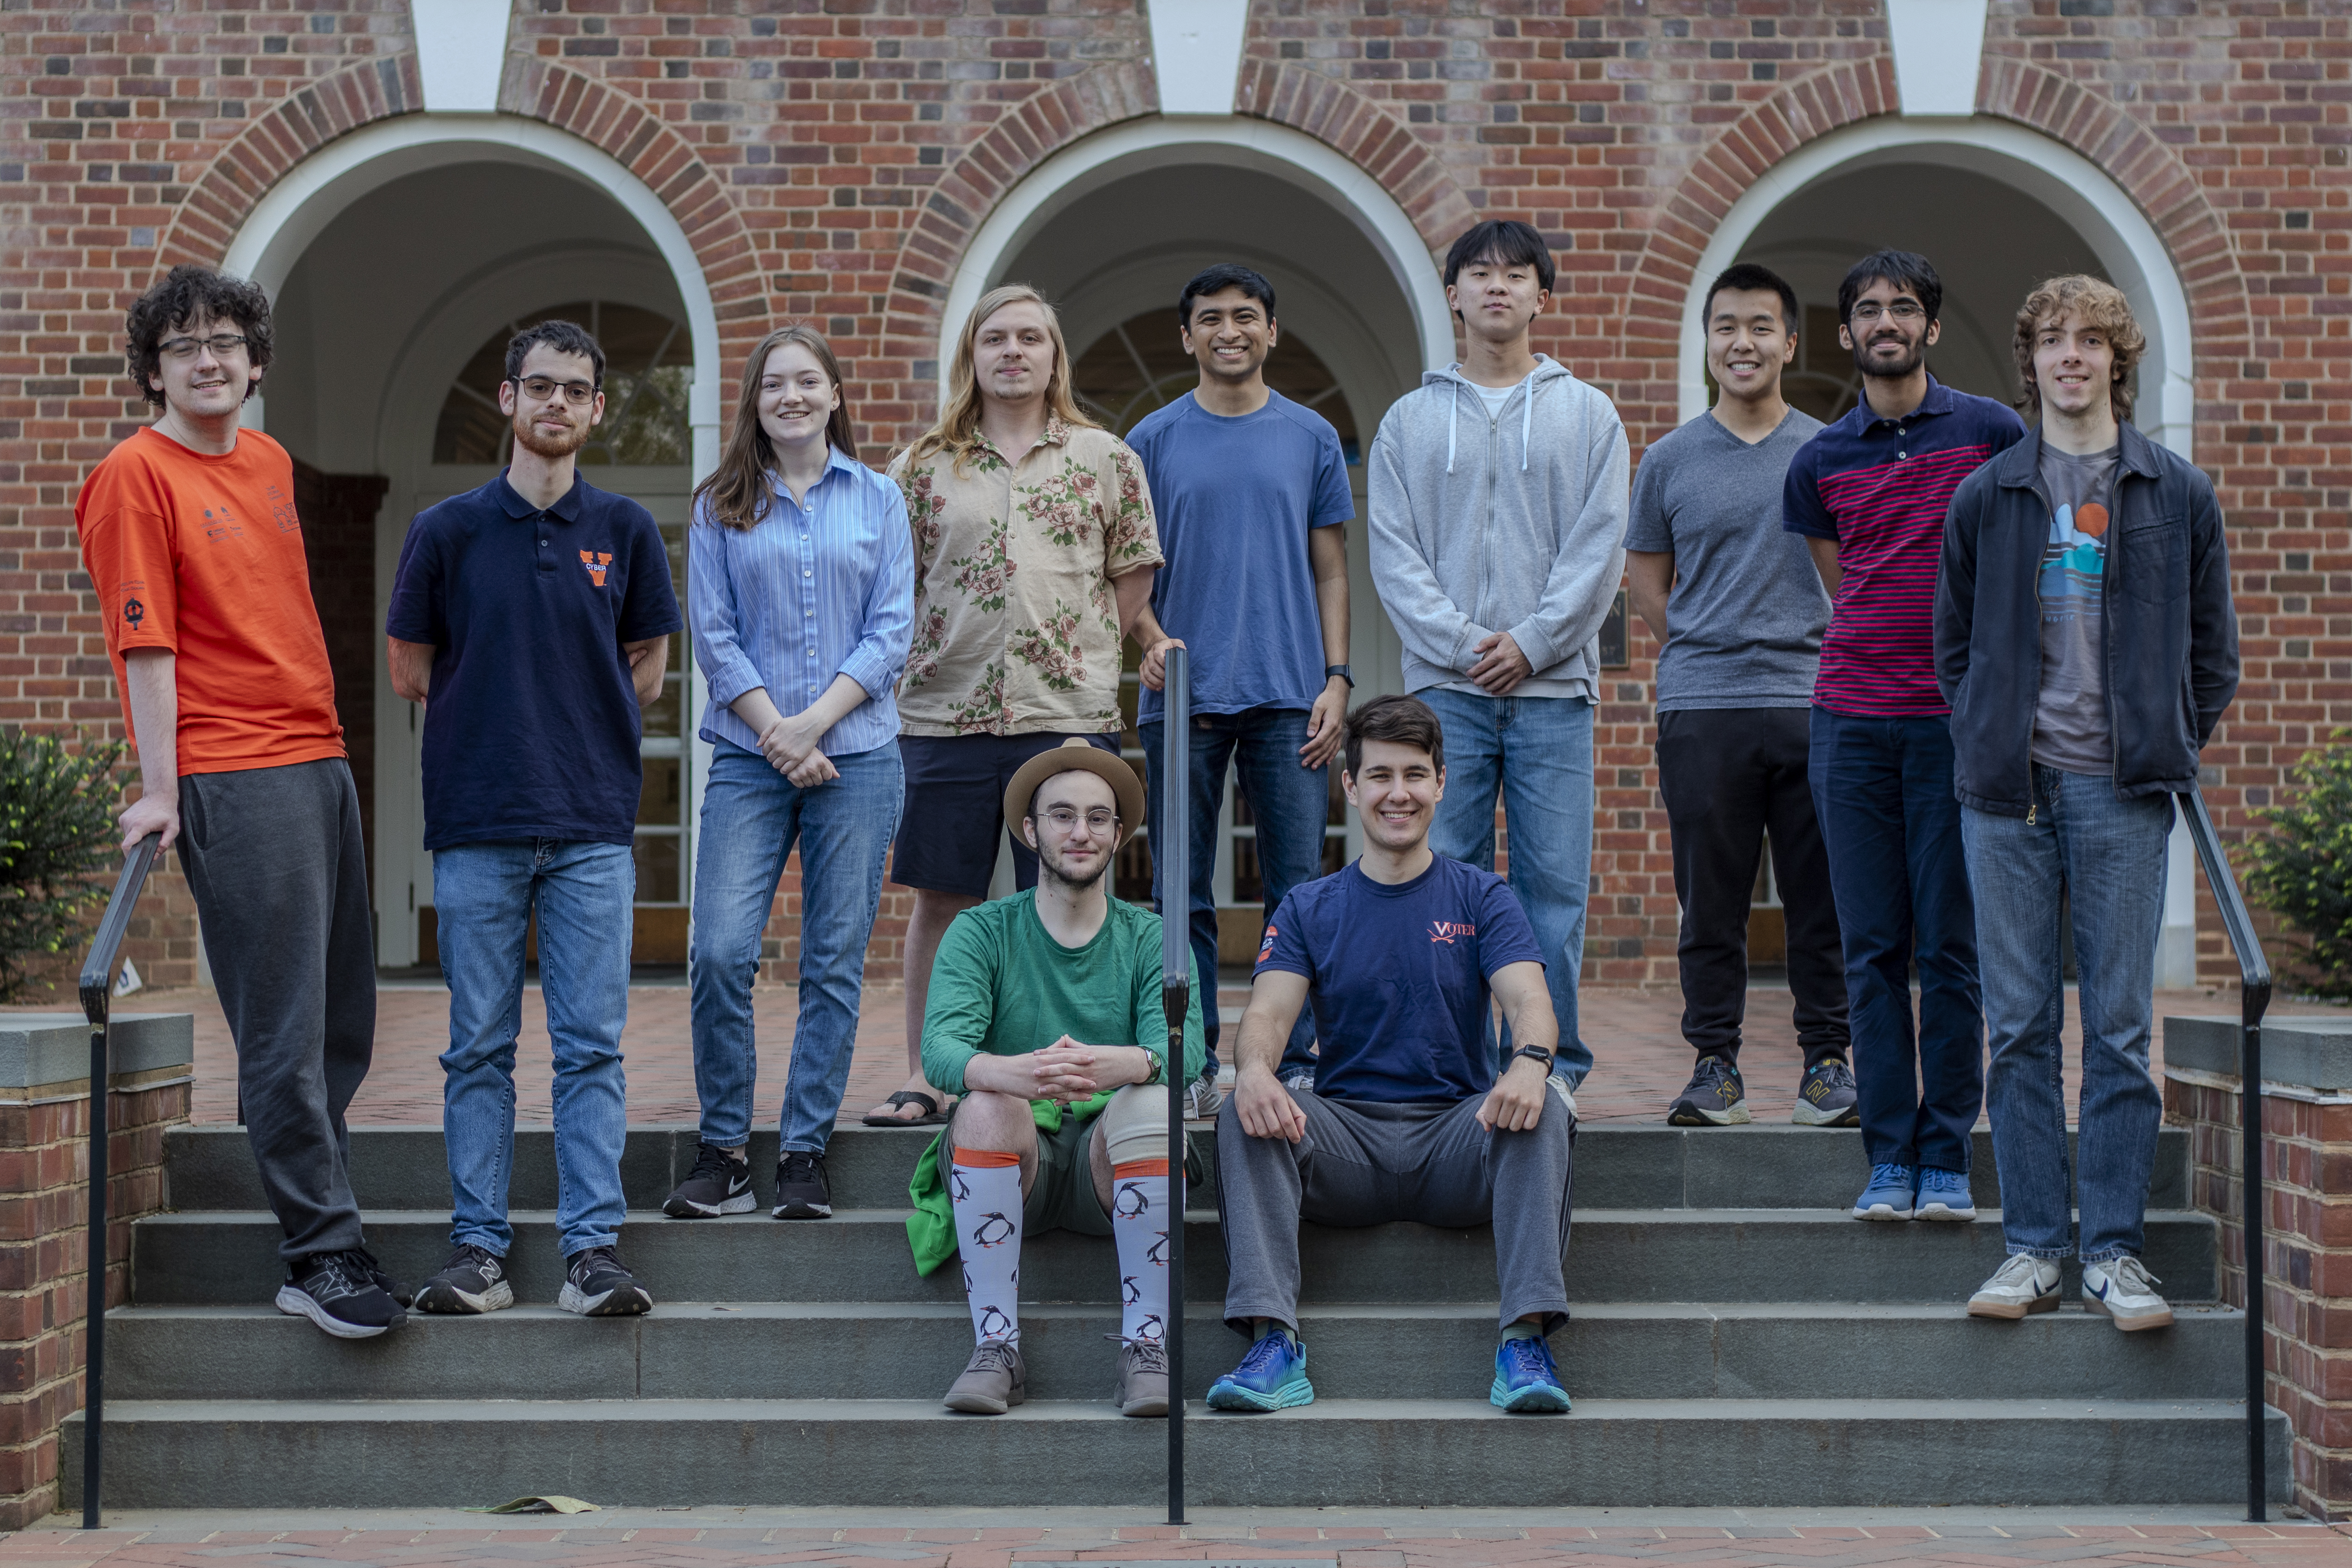
2025 CCDC Team

Date taken: April 17, 2025
Equipment used: Canon EOS Rebel T6; Canon EF f/1.8 50mm STM; Manfrotto Element MII
Notes: CCDC nationals wanted a team photo, and I wanted a nice picture we could use for publicity purposes, so I herded the team out at the start of practice for a photoshoot. I wanted to shoot at the “Computer Science” sign in front of Rice but was (thankfully) overruled; we did the Thornton steps instead. The combination of the 50mm lens and the APS-C sensor meant that I had to set up the camera pretty far back in order to get everyone in the shot, but it worked out really well – no one got out of focus, even with f/2.0! From a staging perspective, I probably should have made the two sides of the group symmetrical before taking the shot, but it’s not that big of a deal. Similarly, I think this could have been made a little brighter during editing, but if it’s good enough for UVA Engineering’s social media…
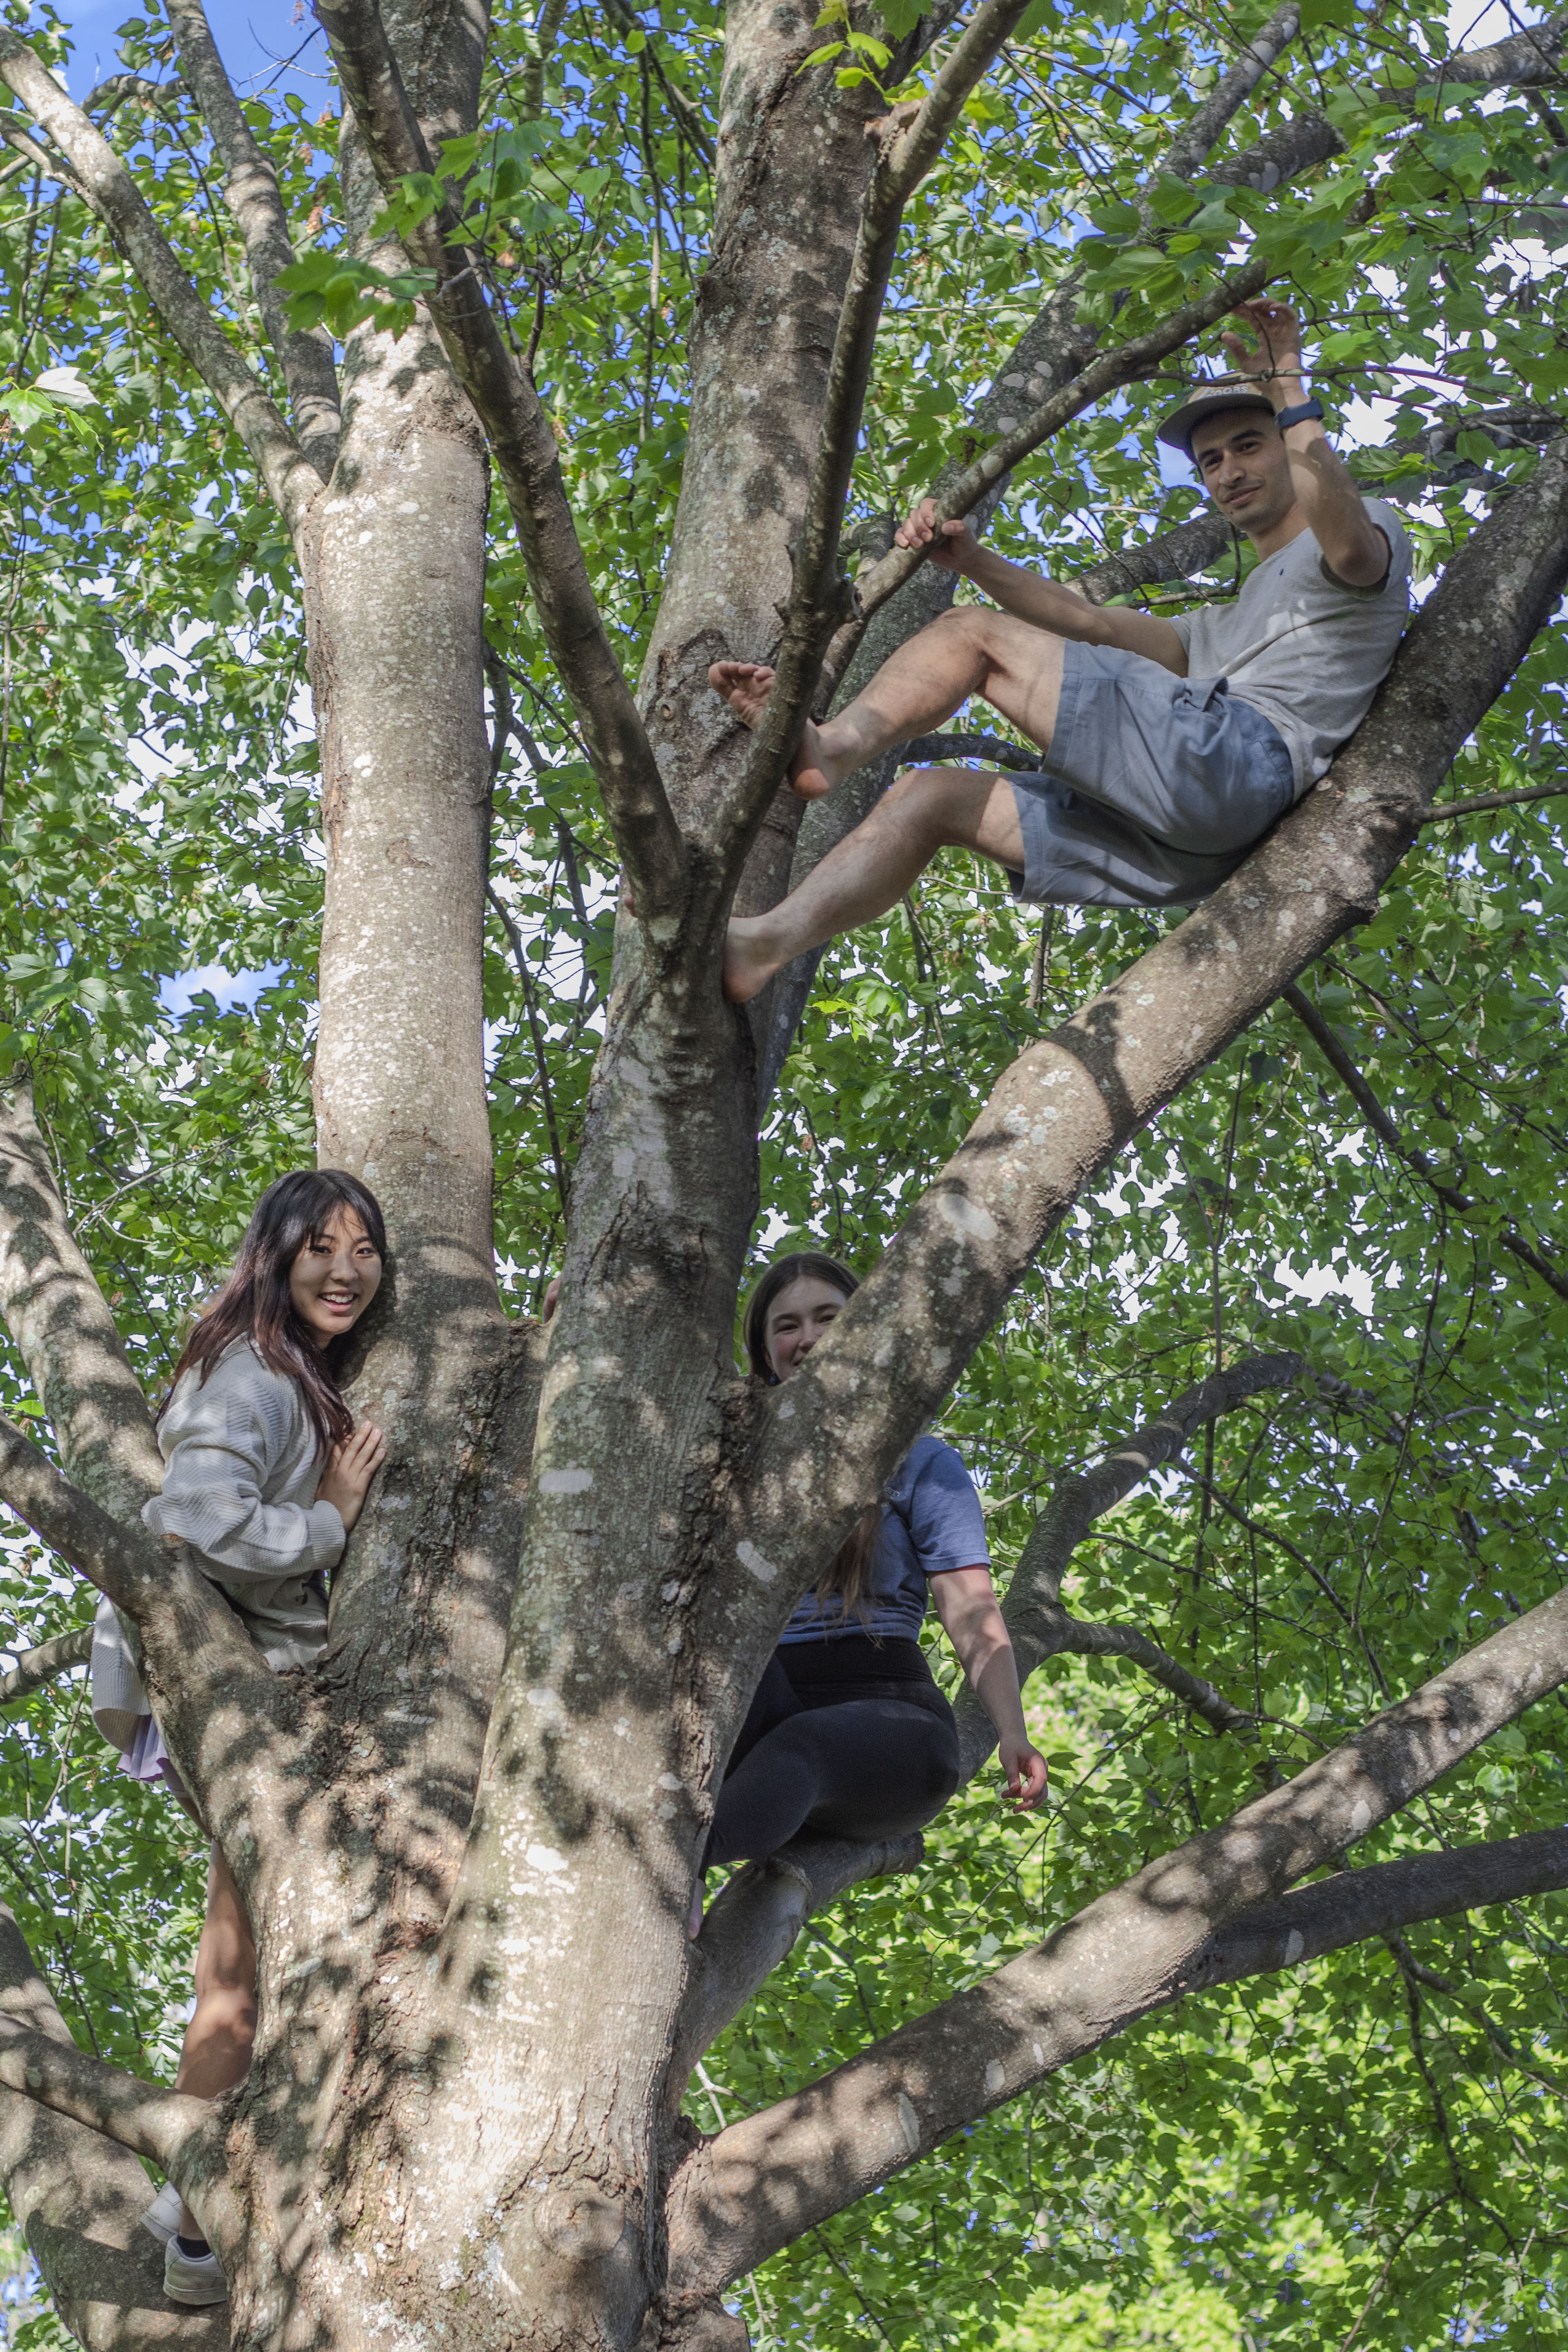
Conductors in a Tree

Date taken: May 6, 2025
Equipment used: Canon EOS Rebel T6; Canon EF f/1.8 50mm STM
Notes: I wasn’t expecting Autumn, Lauren, and Omid to climb the nearest tree at the conductor picnic, but when they ended up doing just that I was real glad to have my camera on me. This picture was tricky to edit for a number of reasons. The biggest thing was fixing the shadows, which were way too dark and made it hard to see the faces (the most important part!) At the same time, I had to turn down the highlights to prevent them from searing the eyes, especially with HDR. The sky was also an unnatural cyan color, which I didn’t like and adjusted to a more appropriate shade of blue. The toughest part for me was working on Autumn’s face (on the left), which is partially in shadow; I had to tweak it so that the difference wasn’t as jarring but still looked natural. The camera automatically selected f/4.0 for this shot, which I thought was too closed at the time of shooting but in hindsight was a pretty good choice since it keeps all the people in focus.
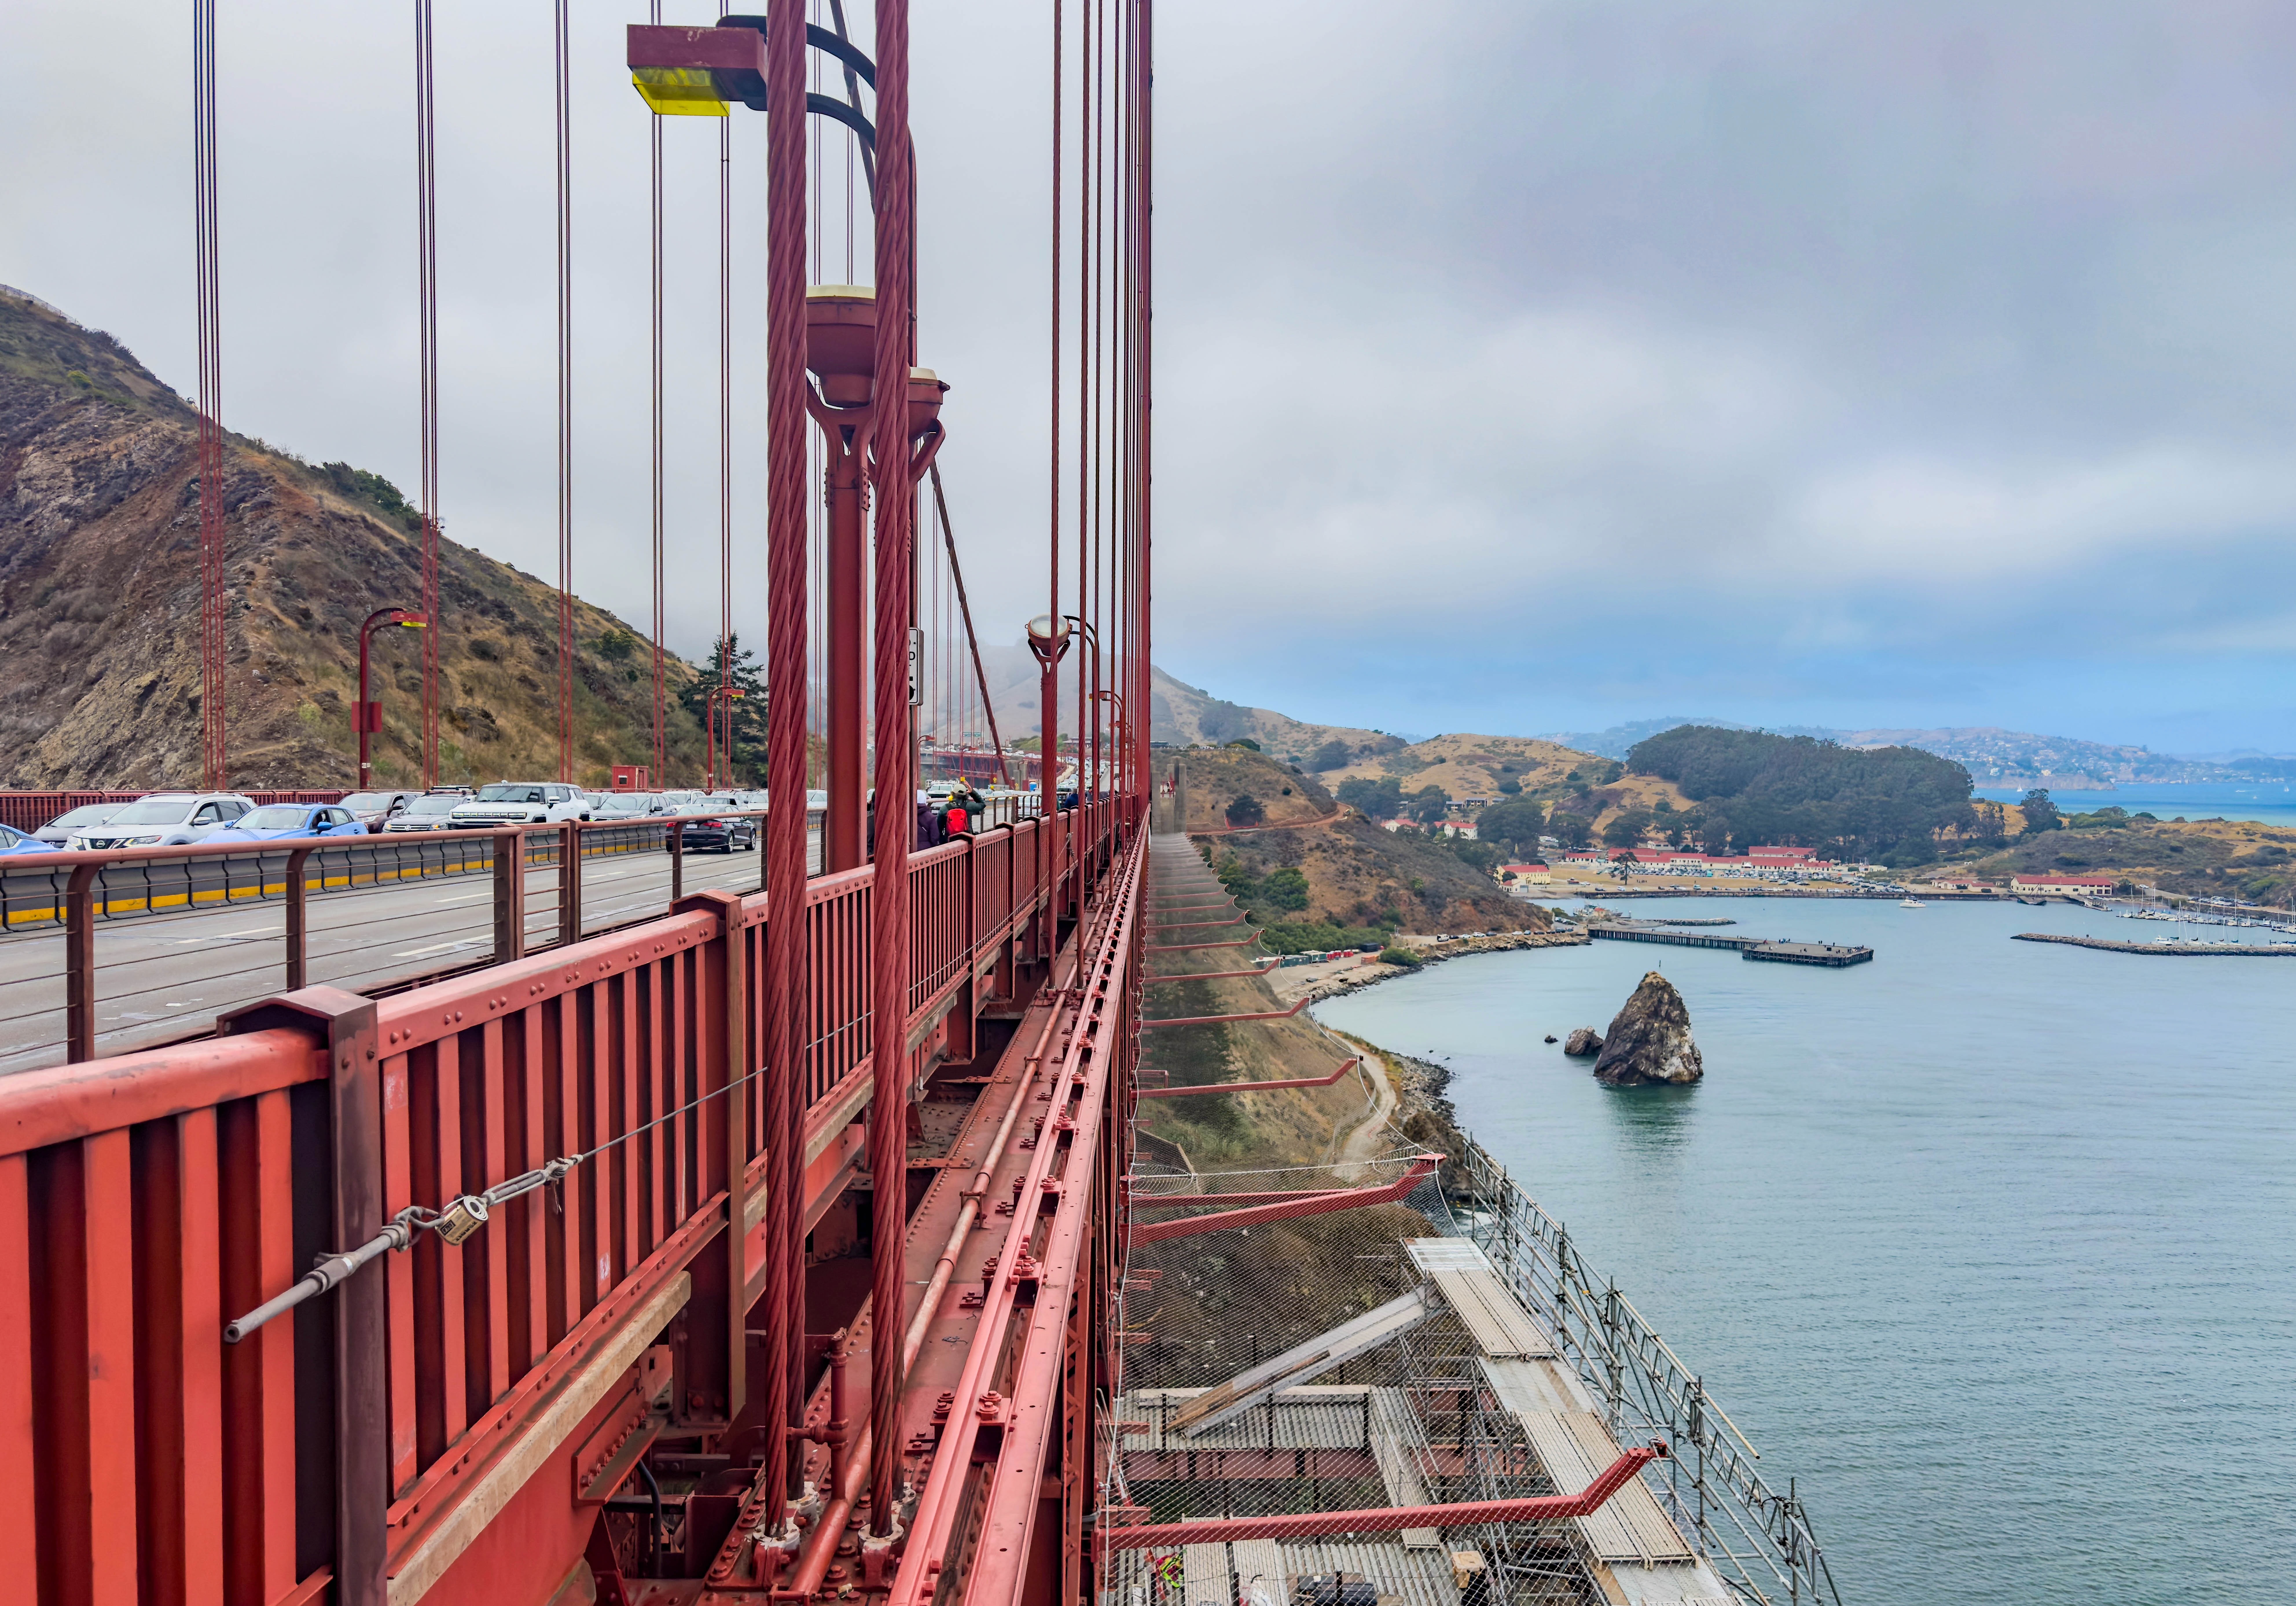
Golden Gate Bridge

Date taken: July 20, 2025
Equipment used: iPhone 15 Pro
Notes: I didn’t take my camera when I went to San Francisco, but my iPhone did a pretty good job in its place. This photo was taken on the iconic Golden Gate Bridge facing northward toward Marin County. While taking the photo, I tried to have the vertical edge of the bridge be exactly centered in the shot. During post, I decided I could do even better and made all the lines in the bridge frame converge on the center of the image for a neat perspective effect. This picture was also a testament to the power of post-production, since I was able to turn a gloomy, gray afternoon shot into a much more colorful (and less foggy, thanks to Lightroom’s dehazer) picture.